I've always wanted to try putting one of my photos on a pumpkin for Halloween. After reading this tutorial on Serious Eats for how to carve a photo into a pumpkin, I decided to go for it.
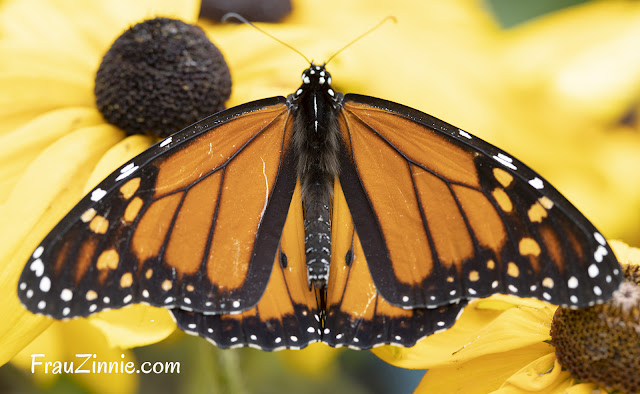
One of the butterflies that visited the garden this year was the inspiration.
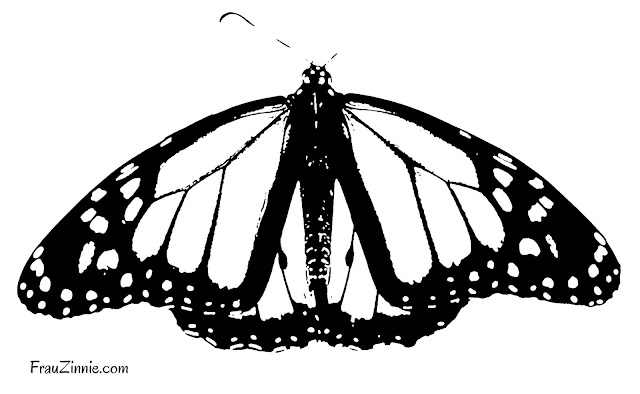
I used Adobe Photoshop to turn this photo into a black and white image, and then I erased out the flowers. I bumped up the contrast, and burned in some details with the dodging tool. To make it look more like a pattern I could put on a pumpkin, I used the "stamp" filter, which really accented the lines in the monarch's wings.
 |
| Click on the image to open a larger version you can print and use. |
Next step: transferring it to the pumpkin.
Cut the top out of the pumpkin and set aside. Scoop out the inside pulp and seeds.
After printing out the black and white version of the photo, I attached it to the pumpkin using masking tape. I cut slits along the paper to help it lay against the curved pumpkin surface.
This is a somewhat advanced pattern, so previous experience working with pumpkin carving tools is a plus.
Working from the center out, I started making marks for the inside wings with a toothpick. I then switched over to my pumpkin carving tools and used the detail knife to keep cutting out sections. (I only ended up using the detail knife, the smallest in the set, for this pattern.)
When cutting the sections of wings (I was removing the "orange parts" of the wing), I didn't cut too deeply into the pumpkin. The effect was additional depth to the wings.
The very center part of the wing pattern was eventually cut through the pumpkin wall, but I only carved about halfway into the pumpkin for the other parts of the wings.
I added a thin line below and above the butterfly to help the black wing edging pop. And I added some random dots in the outer wings to resemble the wing markings. I scratched on some "hair" on the body, and it was time to light it.
I shared on my Instagram page the progress. It took about an hour and a half to carve until it was ready to be lit with a candle outside.
Originally published Oct. 30, 2021. Updated on Oct. 8, 2023.


No comments
Post a Comment